There are times in a musician life, when you'd want to get more from your performance.
Most of us are used to designing patterns, map midi devices or use envelopes automation when it comes to create your own flow.
Ableton lets you create a new way of designing your own instruments rack.
Aside from the feature of developing and saving .ALC (ableton live clips) files, you can also get your signature by constructing and saving your own instrument rack.
In a normal workflow you would go and set your instruments for clips, maybe even without grouping them, but here’s what would you want to know when setting up your rack:
Test and add instruments as you need them (strong suggestion to organize them by the change brought to the whole instrument rack, so that you can modify automation if needed)

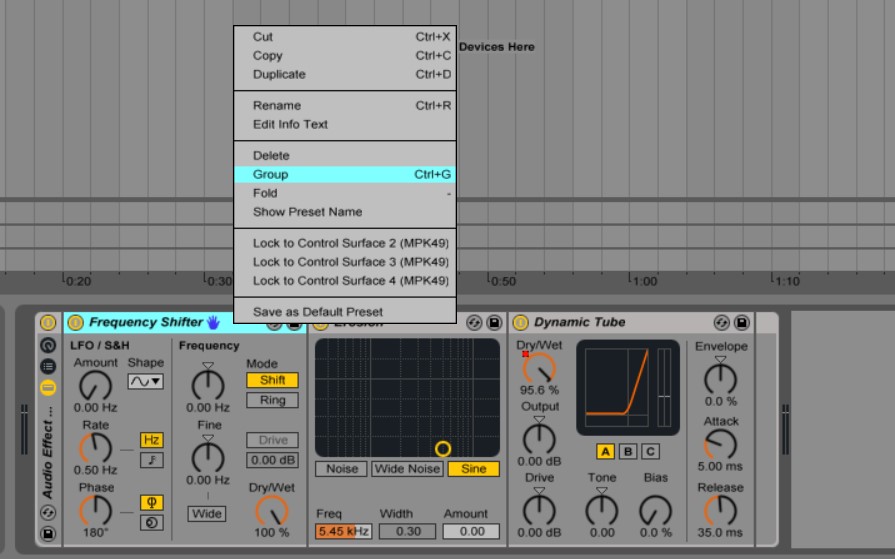
Group instruments as below – dragging each instrument you want in an existing group will do the trick
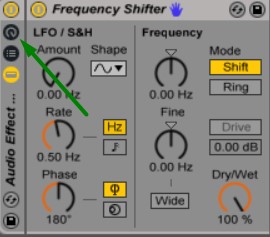
Press the hold/show macro button so you can start mapping those knobs
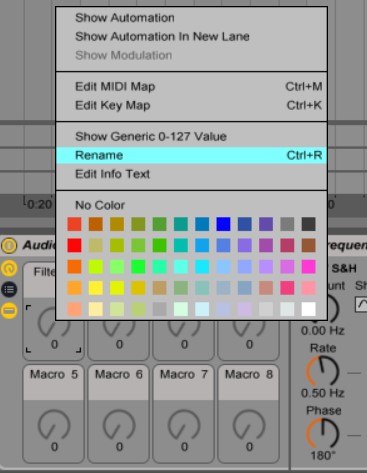
Modify names accordingly to identify further steps
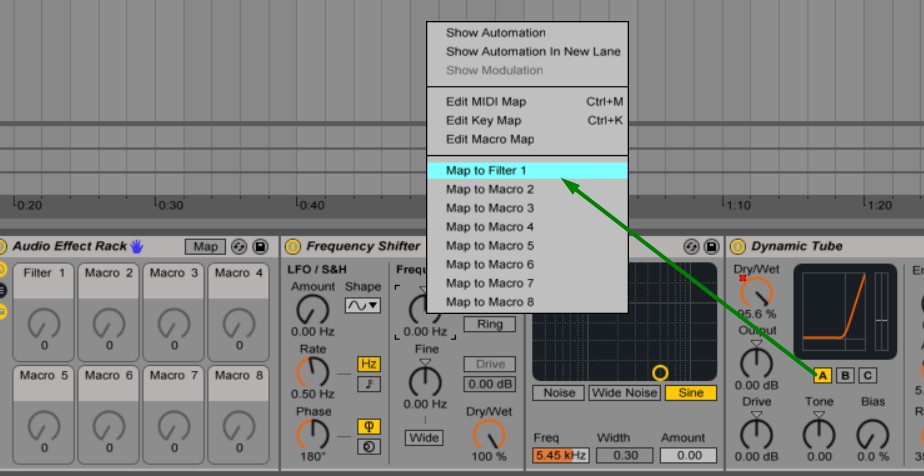
You can start setting each button correspondence by clicking right on the one used and hitting map to – your macro
Click on Save, and this will automatically save into your library, under your designated name.

If you want to export this and share it, you can find it under C:\Users\YOUR NAME\Documents\Ableton\User Library\Presets\Audio Effects\, or by just clicking right on your user library item, and then show in explorer feature will get you there.
There are also others out there originating racks, therefore go wild and search the internet for instrument racks. You can also find some of them free on Ableton’s official site.
