There are multiple tools used at sampling these days, and we don't doubt that sticking to your weapon of choice would probably be the most effective path you can follow.
However, there are lots of DJs and Producers that want to bring a little spice when mixing with Native Instruments Traktor.
Here is a quick step by step guide on how to effectively sample scenes using Traktor, with or without an external dedicated controller:
- Make sure your C and D decks are enabled and ready to go. This will open up two separate channels that can be used by either sampling, or playing tracks:
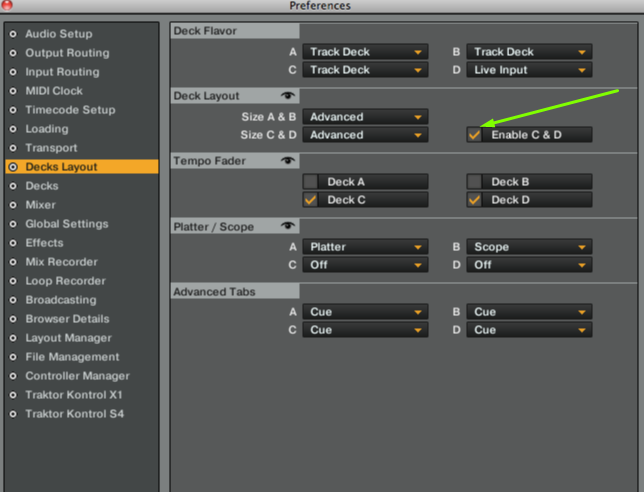
Go to Preferences -> Under Decks Layout -> Find Decks Layout row and check the box for "Enable C & D"
- Set C and D decks as Sample Decks, or as Native named them "Remix Decks'

Go to Preferences -> Under Decks Layout -> Under Deck Flavor, choose Remix Deck from the dropdown
- If all settings were successfully performed, you should visualize something like this:
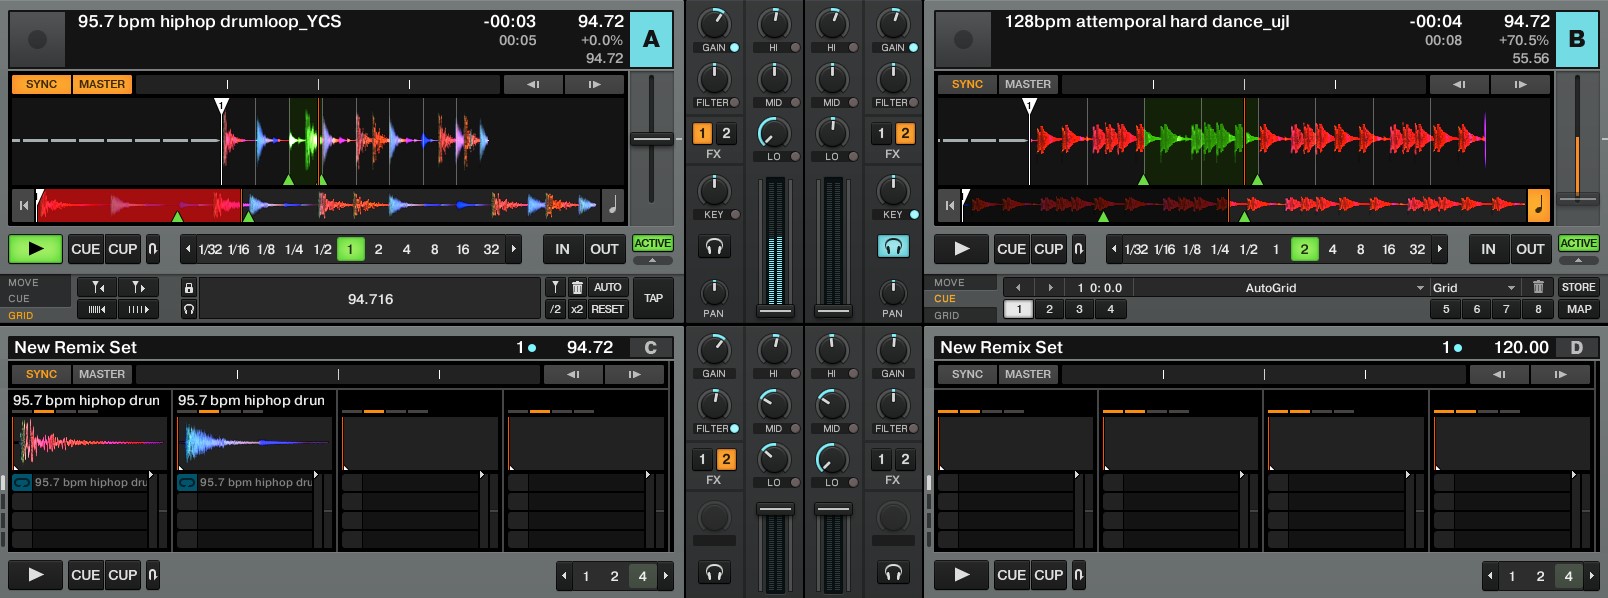
- In this example you will have deck A and deck B as track decks, meaning you can use them as sample materials. Once you have chosen your desired timestamp, loop, you can proceed with playing the respective into your remix decks.
- Now go to your Native Instruments console/midi controller and play them, utilizing the following buttons:
Samples -> Play 1, 2, 3 or 4
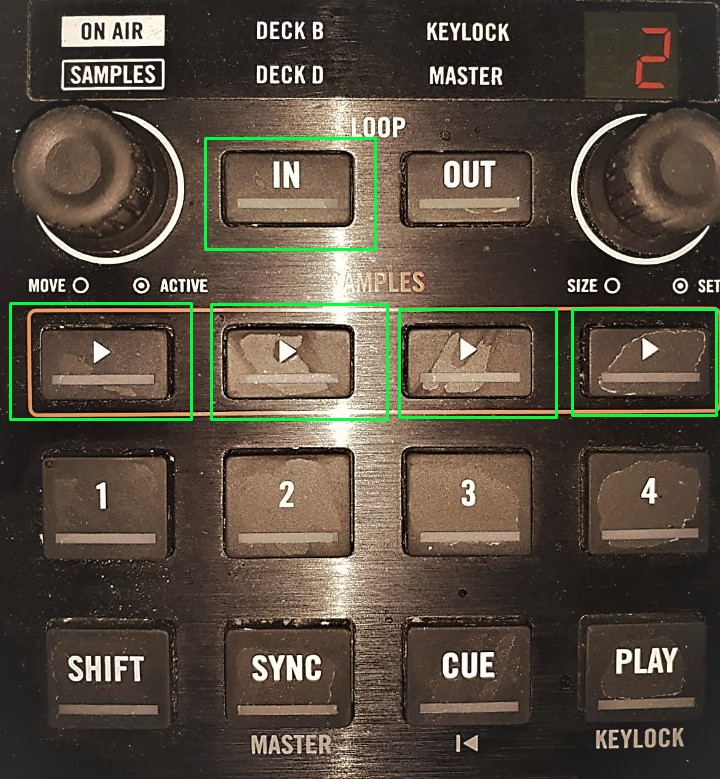
- Step 1 would be to play it on the selected remix deck, then it should be automatically stored into your designated Samples folder in Traktor
Usually C:\Users\User\Music\Traktor\Samples
Grid Details:
If you’re looking to go for grid options, due to some tracks faulty analysis, please consider the following:
Changing your Grid options and at which BPM you will operate by clicking the little arrow as shown below, then navigate to GRID

And if you want to deactivate Grid clipping, uncheck the Snap button, right next to your Main volume button

